

How to install a storage rack inside a side wall trailer?
Oct 31, 2025
Leave a message
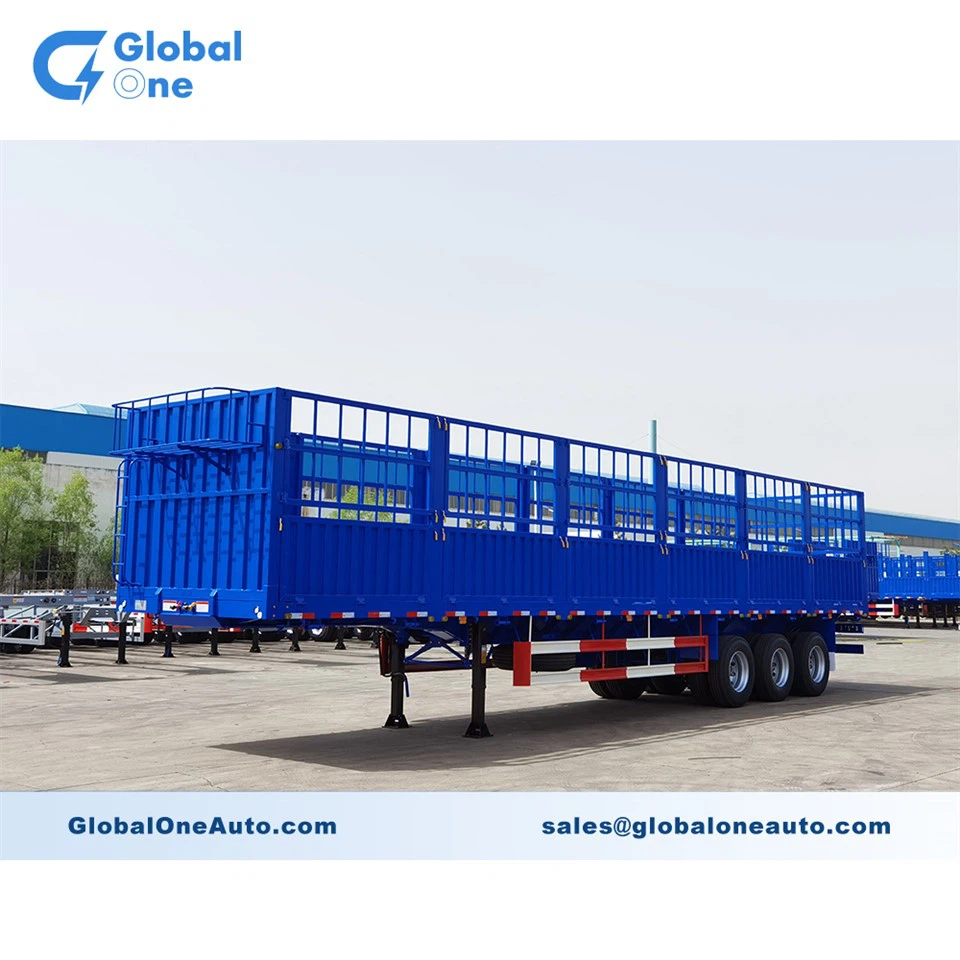
Hey there! As a side wall trailer supplier, I often get asked about how to install a storage rack inside a side wall trailer. It's a great way to maximize the space in your trailer and keep your gear organized. In this blog post, I'll walk you through the process step by step.
Step 1: Plan Your Storage Rack
Before you start installing anything, you need to plan out your storage rack. Think about what you'll be storing in the trailer and how you want to organize it. You can use a piece of paper or a digital tool to sketch out your design. Consider the following factors:
- Size and Shape: Measure the inside of your trailer to determine the maximum size of the storage rack you can install. Make sure to leave enough space for you to move around and access your items.
- Weight Capacity: Consider the weight of the items you'll be storing on the rack. Make sure the rack is strong enough to support the weight without sagging or breaking.
- Accessibility: Think about how you'll access the items on the rack. You may want to install shelves at different heights or use drawers or bins to keep your items organized.
Step 2: Gather Your Materials
Once you have a plan for your storage rack, it's time to gather your materials. You'll need the following items:
- Rack Materials: You can use a variety of materials to build your storage rack, such as wood, metal, or plastic. Choose a material that is strong, durable, and suitable for your needs.
- Tools: You'll need a few basic tools to install the storage rack, such as a drill, screwdriver, measuring tape, and level.
- Fasteners: Depending on the material you choose for your rack, you'll need different types of fasteners, such as screws, bolts, or nails. Make sure to choose fasteners that are appropriate for the material and weight of your rack.
Step 3: Install the Rack Supports
The first step in installing your storage rack is to install the rack supports. These are the brackets or frames that will hold the rack in place. Here's how to do it:
- Mark the Location: Use a measuring tape and level to mark the location where you want to install the rack supports on the side wall of the trailer. Make sure the marks are level and evenly spaced.
- Drill Holes: Use a drill to drill holes in the side wall of the trailer at the marked locations. Make sure the holes are the right size for the fasteners you'll be using.
- Install the Supports: Insert the fasteners into the holes and tighten them using a screwdriver or wrench. Make sure the supports are securely attached to the side wall of the trailer.
Step 4: Assemble the Rack
Once the rack supports are installed, it's time to assemble the rack. Here's how to do it:
- Cut the Materials: Use a saw or other cutting tool to cut the rack materials to the appropriate length and width. Make sure to measure twice and cut once to ensure accuracy.
- Attach the Shelves: Use screws or other fasteners to attach the shelves to the rack supports. Make sure the shelves are level and evenly spaced.
- Add Additional Supports: If necessary, you can add additional supports to the rack to make it more stable. This may include cross braces or diagonal supports.
Step 5: Install the Rack in the Trailer
Once the rack is assembled, it's time to install it in the trailer. Here's how to do it:
- Lift the Rack: Carefully lift the rack and place it on the rack supports. Make sure the rack is level and centered in the trailer.
- Secure the Rack: Use screws or other fasteners to secure the rack to the rack supports. Make sure the rack is securely attached to the trailer.
- Test the Rack: Once the rack is installed, test it to make sure it's stable and can support the weight of your items. You can do this by placing a few heavy items on the rack and checking for any signs of sagging or movement.
Step 6: Organize Your Items
Now that your storage rack is installed, it's time to organize your items. Here are some tips to help you get started:
- Group Similar Items: Group similar items together on the rack to make them easier to find. For example, you can group all your tools together or all your camping gear together.
- Use Bins and Drawers: Use bins and drawers to keep your items organized and prevent them from falling off the rack. You can label the bins and drawers to make it easier to find what you're looking for.
- Keep Heavy Items on the Bottom: Keep heavy items on the bottom shelves of the rack to prevent the rack from tipping over.
Conclusion
Installing a storage rack inside a side wall trailer is a great way to maximize the space in your trailer and keep your gear organized. By following these steps, you can install a storage rack that is strong, durable, and suitable for your needs. If you have any questions or need further assistance, please don't hesitate to contact us. We're a side wall trailer supplier, and we're here to help you with all your trailer needs.
If you're interested in purchasing a side wall trailer, check out our 40ft Side Wall Trailer and 40ft High Wall Trailer options. We offer a wide range of trailers to suit your needs and budget. Contact us today to learn more and start your purchase negotiation!

References
- DIY Storage Rack Installation Guides from Home Improvement Stores
- Trailer Maintenance and Modification Manuals